

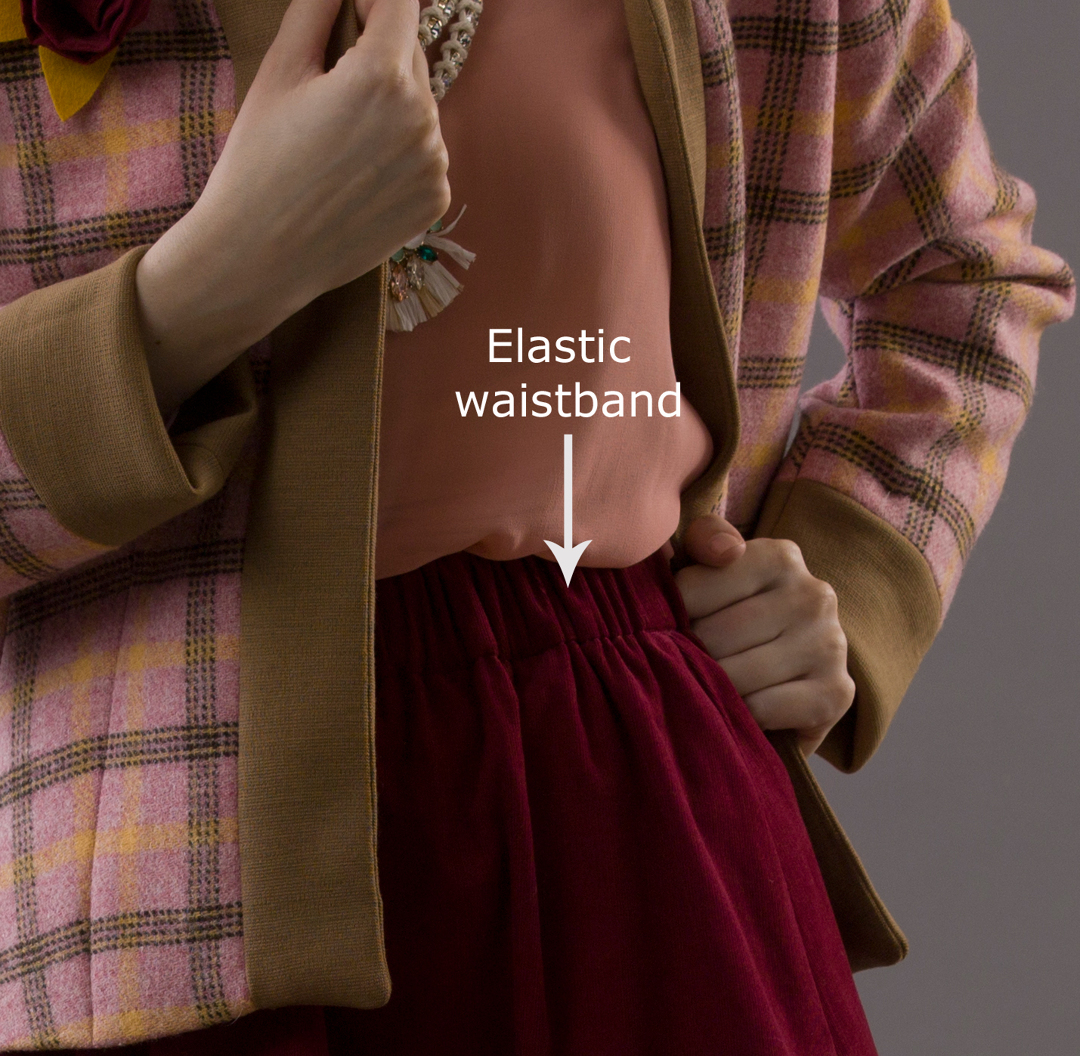
To attach an elastic waistband to a skirt, sew the elastic ends together and then stitch it to the skirt’s top edge. Ensure the fabric is evenly distributed around the elastic.
Creating an elastic waistband for a skirt is a practical sewing technique. It offers both comfort and flexibility, making it ideal for various body types. Elastic waistbands are perfect for casual skirts or children’s clothing, allowing for easy wear and adjustment.
This method is straightforward, even for beginners in sewing. You only need basic materials: elastic, a skirt, and a sewing machine. Whether you’re upcycling an old garment or making a new one, this guide will help you create a neat and functional waistband. Follow these steps for a polished and professional finish.

Credit: blog.megannielsen.com
Materials Needed
Attaching an elastic waistband to a skirt requires specific materials. These ensure a smooth and professional finish. Below is a detailed list of all essential items.
Elastic Types
Choosing the right elastic is crucial for the waistband. Here are some common types:
- Woven Elastic: Durable and strong, suitable for heavy fabrics.
- Knitted Elastic: Soft and flexible, ideal for lightweight skirts.
- Braided Elastic: Narrow and firm, best for casual skirts.
Tools And Supplies
Gathering the right tools and supplies is essential. Here is a list:
| Tool | Purpose |
|---|---|
| Sewing Machine | For stitching the elastic to the skirt. |
| Measuring Tape | To measure the waistband and elastic. |
| Fabric Scissors | To cut the fabric and elastic accurately. |
| Pins | To hold the fabric and elastic in place. |
| Seam Ripper | For removing stitches if needed. |
| Iron | To press seams and smooth the fabric. |
Always use quality tools to ensure the best results. This makes the process easier and more efficient.

Credit: www.sewinglikemad.com
Preparing The Skirt
Before attaching an elastic waistband, prepare the skirt properly. This preparation ensures a neat and professional finish.
Measuring Waist
First, measure your waist accurately. Use a measuring tape. Wrap it snugly around your waist. Note the measurement. This is the size for your elastic band. Add one inch for seam allowance.
| Step | Description |
|---|---|
| 1 | Wrap measuring tape around waist. |
| 2 | Note the measurement. |
| 3 | Add one inch for seam allowance. |
Cutting The Fabric
Next, cut the fabric for the waistband. Use the waist measurement. Add one inch for seam allowance. Cut the elastic band to this length.
- Measure the fabric.
- Add seam allowance.
- Cut the fabric.
- Cut the elastic band.
Make sure the fabric edges are even. This ensures a smooth waistband.
Example of cutting fabric code
```
Choosing The Elastic
Choosing the right elastic for your skirt is important. The elastic will determine comfort and fit. Make sure to pick the best size and length for your project.
Elastic Width
The width of the elastic is crucial. It affects how the skirt sits on your waist. Here are some common widths:
| Elastic Width | Use |
|---|---|
| 1/2 inch | Lightweight skirts |
| 1 inch | Everyday skirts |
| 2 inches | Heavy fabrics |
Choose a wider elastic for heavier fabrics. For lightweight fabrics, narrow elastic works best.
Elastic Length
Measuring the correct length is key. Follow these steps to get it right:
- Measure your waist with a measuring tape.
- Subtract 1 to 2 inches for stretch.
- Cut the elastic to this length.
Ensure the elastic fits snugly but not too tight. Too tight elastic can be uncomfortable. Too loose elastic will not hold the skirt well.
Use these tips to choose the perfect elastic for your skirt. This will make your skirt comfortable and stylish.
Credit: www.threadsmagazine.com
Attaching The Elastic
Attaching an elastic waistband to a skirt can be fun and rewarding. It gives your skirt a clean, professional finish. Follow these easy steps to attach the elastic waistband properly.
Pinning The Elastic
First, measure your waist and cut the elastic to the right length. Make sure the elastic is slightly shorter than your waist measurement.
Next, divide the elastic into four equal parts. Use pins to mark these sections.
Now, take your skirt and divide its top edge into four equal parts. Pin these sections as well.
Match the pinned sections of the elastic with the pinned sections of the skirt. Pin the elastic to the skirt at these points.
Sewing Techniques
Set your sewing machine to a zigzag stitch. This stitch allows the elastic to stretch.
Start sewing at one of the pinned sections. Sew the elastic to the skirt, stretching the elastic as you go. This ensures an even fit.
Keep sewing until you reach the starting point. Overlap the ends of the elastic slightly and sew them together securely.
Trim any excess fabric or threads for a clean finish.
For a professional look, sew another row of zigzag stitches along the bottom edge of the elastic. This keeps the elastic flat and secure.
| Step | Description |
|---|---|
| 1 | Measure and cut the elastic |
| 2 | Divide and pin both elastic and skirt |
| 3 | Pin elastic to skirt |
| 4 | Sew with zigzag stitch |
| 5 | Trim excess and finish |
Remember, practice makes perfect. Soon you’ll be attaching elastic waistbands like a pro!
Finishing The Waistband
After attaching the elastic waistband to your skirt, it’s time to finish it. This step ensures a neat and comfortable fit. Follow these steps to secure the ends and trim the excess fabric.
Securing The Ends
First, make sure the ends of the elastic are secure. Overlap the ends by about an inch. Use a zigzag stitch to sew them together. This stitch will help the elastic stay in place.
You can also use a serger if you have one. A serger provides a clean finish. If you don’t have a serger, a regular sewing machine works well.
| Step | Action |
|---|---|
| 1 | Overlap elastic ends by 1 inch |
| 2 | Use a zigzag stitch to sew the ends |
| 3 | Check the stitch for security |
Trimming Excess Fabric
Next, check for any excess fabric around the waistband. Use sharp scissors to trim any extra fabric. Be careful not to cut the elastic.
Trim close to the stitches but leave a little seam allowance. This helps the waistband lay flat and look neat. You can also finish the raw edges with a zigzag stitch.
- Check for excess fabric
- Use sharp scissors to trim
- Leave a small seam allowance
- Finish raw edges with a zigzag stitch
By following these steps, your skirt will have a perfect, clean finish. It will look professional and be comfortable to wear.
Troubleshooting Common Issues
Attaching an elastic waistband to a skirt can be tricky. Sometimes issues arise that can ruin your project. Here’s how to fix common problems.
Elastic Twisting
Elastic twisting is a common issue. It can make your waistband uncomfortable. Follow these steps to fix it:
- Use a wider elastic band. It’s less likely to twist.
- Pin the elastic to the fabric at several points. This keeps it stable.
- Sew the elastic in place with a zigzag stitch. This reduces twisting.
Uneven Gathering
Uneven gathering can make your skirt look lopsided. Here’s how to ensure even gathering:
- Divide the waistband and skirt into quarters. Mark each section with pins.
- Match the pins on the waistband to the pins on the skirt.
- Distribute the fabric evenly as you sew. Use a straight stitch first.
- Check for even gathers. Adjust if needed before final stitching.
By following these tips, you can avoid common issues. Your skirt will look professional and be comfortable to wear.
Styling Tips
Adding an elastic waistband to a skirt opens up many styling possibilities. You can create a unique look that suits your personal taste. Here are some styling tips to make your skirt stand out.
Matching Fabrics
Choosing the right fabric for your elastic waistband is crucial. Make sure the fabric complements the skirt material. This ensures a cohesive look.
- Color Coordination: Select a fabric color that matches or contrasts well with your skirt.
- Texture: For a chic look, pair smooth fabrics with textured waistbands.
- Patterns: Combine solid-colored skirts with patterned waistbands for added flair.
Adding Embellishments
Embellishments can transform a simple skirt into something special. Add decorations to the elastic waistband for a unique touch.
| Embellishment | Description |
|---|---|
| Beads | Sew beads onto the waistband for a sparkling effect. |
| Ribbons | Attach ribbons for a playful and feminine look. |
| Buttons | Add decorative buttons for a vintage feel. |
Follow these tips to style your skirt with an elastic waistband. Express your creativity and make your outfit truly unique.
Care And Maintenance
Proper care and maintenance of your elastic waistband skirt ensure its longevity. Follow these simple steps to keep your skirt looking fresh and elastic durable.
Washing Instructions
Wash your skirt in cold water. Use a mild detergent. Avoid bleach as it weakens the elastic.
Hand wash is best, but you can use a gentle cycle. Place the skirt in a mesh laundry bag. This protects the elastic.
Never wring out the skirt. Gently squeeze out excess water instead.
Elastic Longevity
To prolong the elastic’s life, avoid high heat. High temperatures can damage the elastic fibers.
Air-dry the skirt. Lay it flat on a clean towel. This helps maintain the elastic’s shape.
Store your skirt properly. Fold it neatly and place it in a drawer. Avoid hanging to prevent stretching.
| Care Tip | Reason |
|---|---|
| Wash in cold water | Prevents elastic from weakening |
| Use mild detergent | Avoids harsh chemicals on elastic |
| Air-dry | Maintains elastic shape |
| Store flat | Prevents stretching |
Conclusion
Attaching an elastic waistband to a skirt is simple with the right steps. Follow our guide for a perfect fit. Practice makes perfect, so keep trying. Your handmade skirts will soon look professional. Enjoy the creative process and wear your custom skirts with pride.
Happy sewing!


Leave a Reply